Exactly 9 days after launching my first ever website, I found out that it’d been hacked? WTF?! 9 days? How did hackers even know I existed?
So after I got hacked, I did a lot of research. I wanted to understand how and why hackers would even bother trying to hack my fledgling site. I mean, my site didn’t have any content or anything of value at that time – and I didn’t think my witty personality was all that popular yet…
Turns out that hackers didn’t actually care about any of the content (or wit) on my site. They really just wanted to take control of my website server in order to send spam and perform other deviously naughty activities.
It was only after diving deep into the bottomless pits of WordPress tutorials and Youtube videos, that I was able to surface with some semblance of knowledge of what a secure WordPress website should look like – and that’s what this post is all about.
I should caveat this post by saying, that no matter how much you do to any website, nothing is really 100% secure. A highly skilled and tenacious hacker will eventually find a way to get past any security system you can put up – but the thing is, most hackers aren’t skilled or tenacious. The design of WordPress, although excellent in many ways, is inherently insecure and has some security flaws which can be easily exploited by any hacker with the easily obtained hacking software, if you use completely default settings and weak password protection.
The thing is, WordPress websites run by small businesses (such as mine), bloggers and solopreneurs are the most vulnerable to attack. Most are new to the internet game (like I was) and just want to get something up quickly so they can publish stuff and/or sell stuff.
And so the last thing you think about is pesky security thingies.
If you’re serious about running a business on the internet with your WordPress website, then protecting your asset should be your priority.
But of course, it’s not just about securing your website. As a business, you also need to make sure it’s set up to help you run your operations as efficiently and effectively as possible, to make you more sales.
As a new business owner, I could see that nearly every small business entrepreneur or internet marketer I read about was using WordPress. So of course, being the sheep that I was, it was a no brainer to dive into WordPress too!
When I started out with WordPress, I must admit that I was a complete noob and didn’t really have a clue about what I was doing. I didn’t really understand about themes, plugins or the difference between posts and pages. Bob here gives a nice post on the topic if you’re still wondering.
After working with WordPress for a few years, here is a list of the first things that I do on any WordPress website to set myself up for business properly.
#1 Settings During WordPress Installation
Let’s start right at the beginning. Assuming you haven’t installed WordPress yet, then there are a few things that you can do during installation that will help with the security of your site.
If you have a website host that gives you CPanel access, then they will most likely provide you with software installers for many of the popular software packages around. Softaculous is one of those packages that can be used to install WordPress, and I’ll walk through the process with Softaculous, but other packages should be pretty similar.
Softaculous is an auto-installer script which bundles a whole host of software packages together, and allows you to install your chosen package within a few clicks. Hosting companies like Glowhost and Siteground include Softaculous within the control panel.
From your CPanel dashboard, scroll down and choose the ‘Wordpress’ option from the Softaculous section.
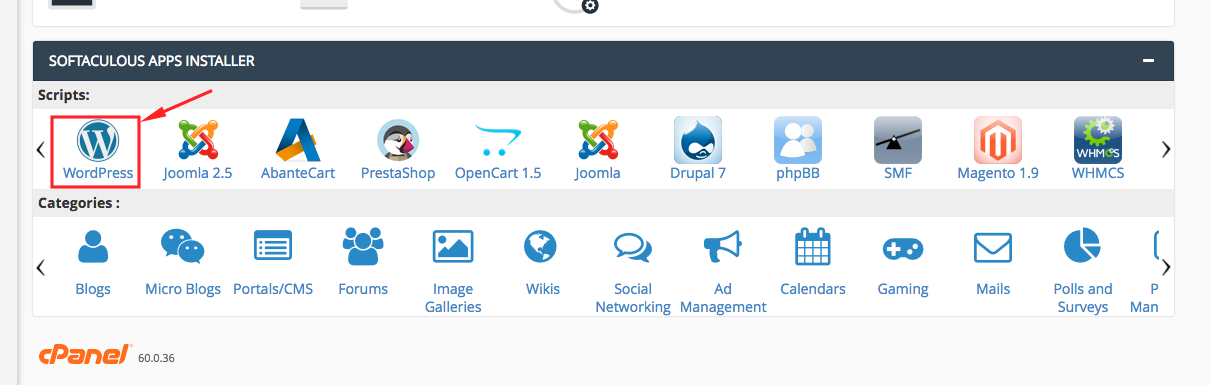
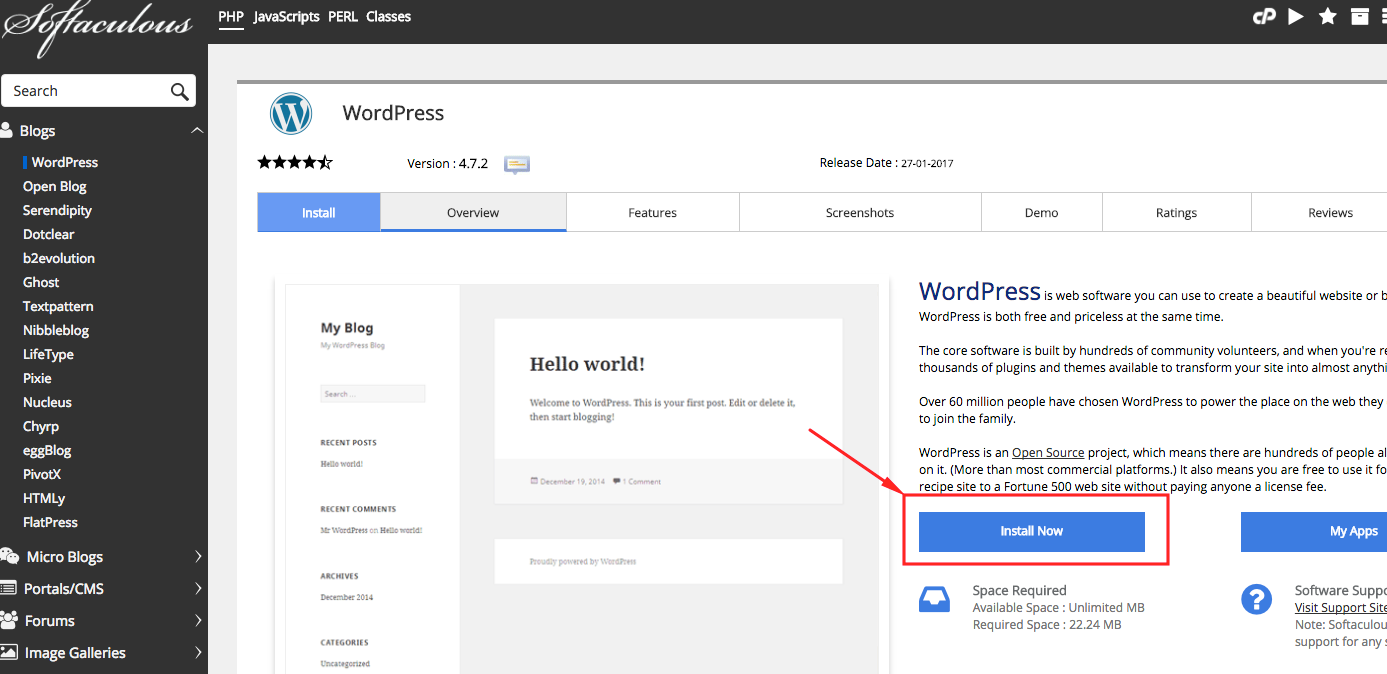
Click ‘Install Now’
Adjust the database table name
WordPress will give you a default name for the database table. Hackers will know the default pattern for the databases in WordPress, so feel free to make a small (but random) tweak to the name just to make it a little harder for hackers
Change your username. This is an obvious one, but use a really unique username that will be hard for anyone to guess.
Set a really long and strong password
During WordPress installation, you should never choose “admin” as the username for your main administrator account. Such an easy-to-guess username is approachable for hackers. All they need to know is the password, and your entire site gets into the wrong hands.
I can’t tell you how many times I have scrolled through my website logs, and found login attempts with username “admin”.
#2 Install Backup Software
When troubleshooting WordPress issues, I’ve had several OMG moments (the bad kind) when I’ve enabled the a plugin or changed a setting, and then the entire website goes down.
The first time this happened, I didn’t have a back which made it a million times worse than it should have been. I’ve never made that mistake again.
Performing regular WordPress backups is the single most important thing you need to do for your website. I’d would have put it up the top, but you didn’t really have anything to backup until this point.
Backups will give you the lifeline when catastrophic situations happen, from accidentally breaking your website, through to getting hacked.
Following along the theme of doing things for free, there are of course several free backup options available.
These include:

I find that UpdraftPlus has the most bang for you zero bucks out of the free options. Here’s a video kindly created by UpdraftPlus that shows you how to install it.
#3 Get a CDN – Cloudflare
A CDN is a Content Delivery Network, which is a way to deliver content from your website to people more quickly and efficiently, based on their geographic location. To find out more about CDNs and how they work, here is a good article.
To connect to a CDN named Cloudflare, just follow the step by step instructions provided.
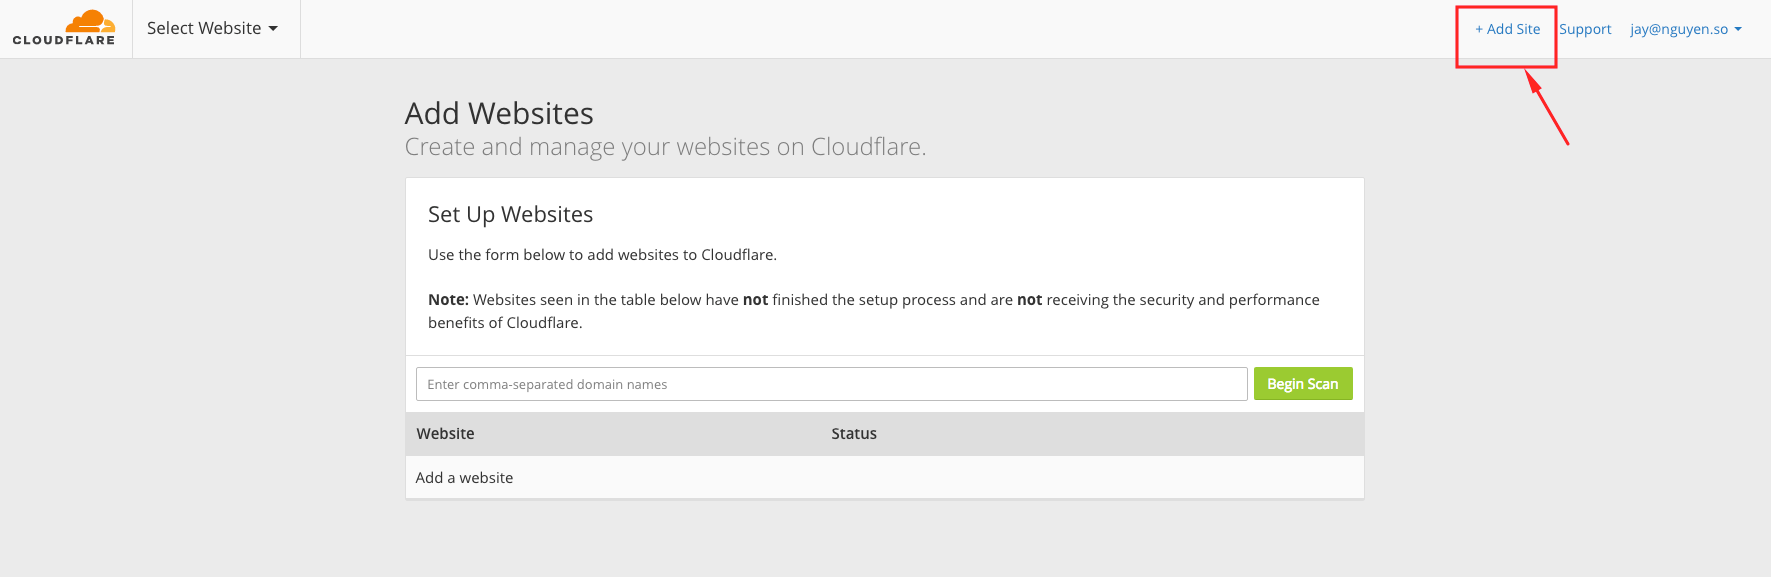
Go to Cloudflare.com and sign up for an account.
Click on ‘Add site’
Type in your website into the field and click ‘Begin Scan’
Once scanning is completed, press the ‘Continue setup’ button
Scroll to the bottom of the page and click ‘Continue’
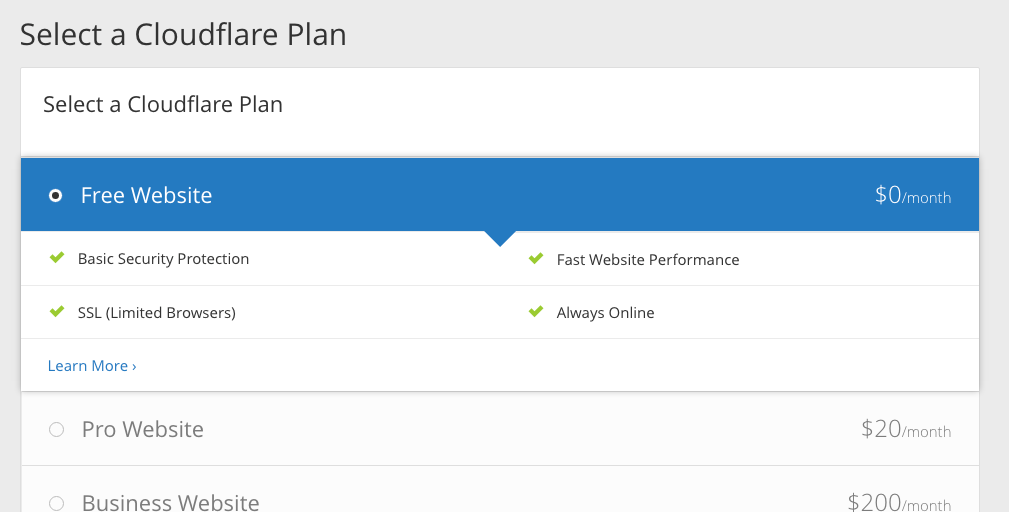
Choose the ‘Free Website’ option and click continue
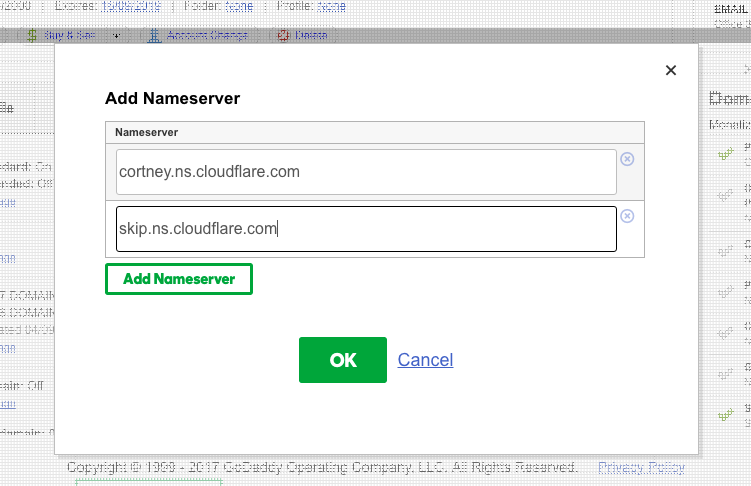
Copy the ‘Nameservers’ ie. cortney.ns.cloudflare.com and skip.ns.cloudflare.com
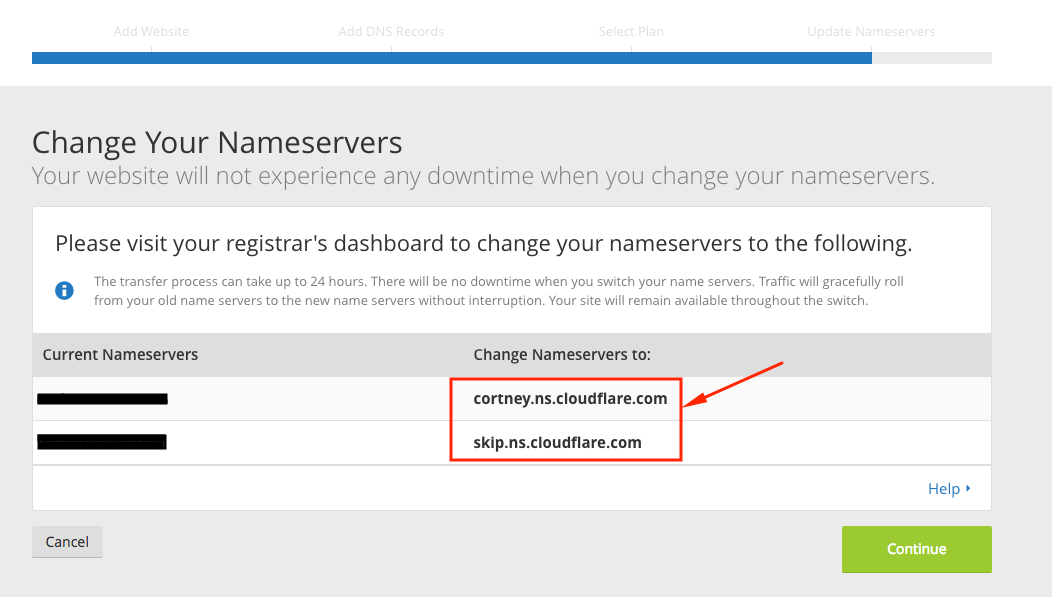
Now go to your domain registrar – you will need to change your nameservers over to Cloudflare.
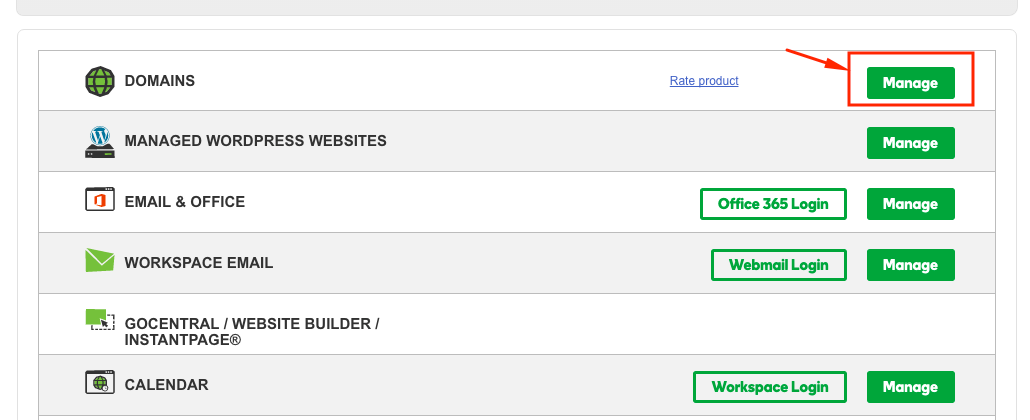
I’ll show instructions for Godaddy below, but the process will be similar if you’re with a different host. If you’re struggling, leave a comment below.
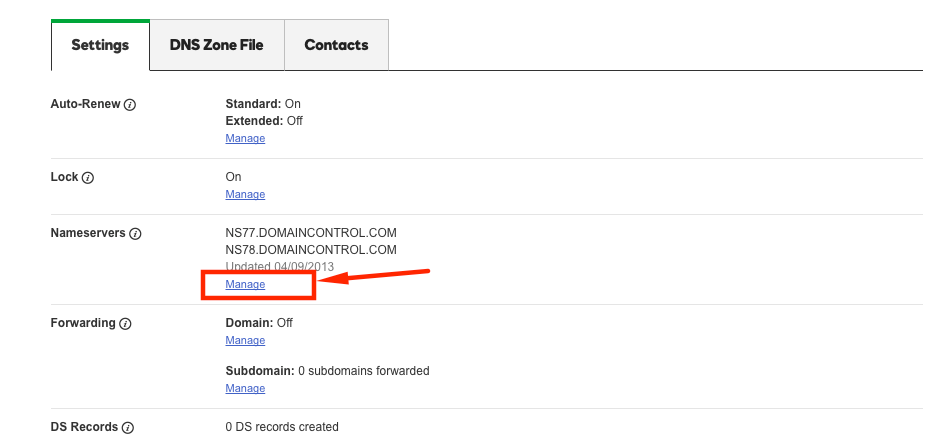
Click the ‘Manage’ button on the ‘Domains’ section
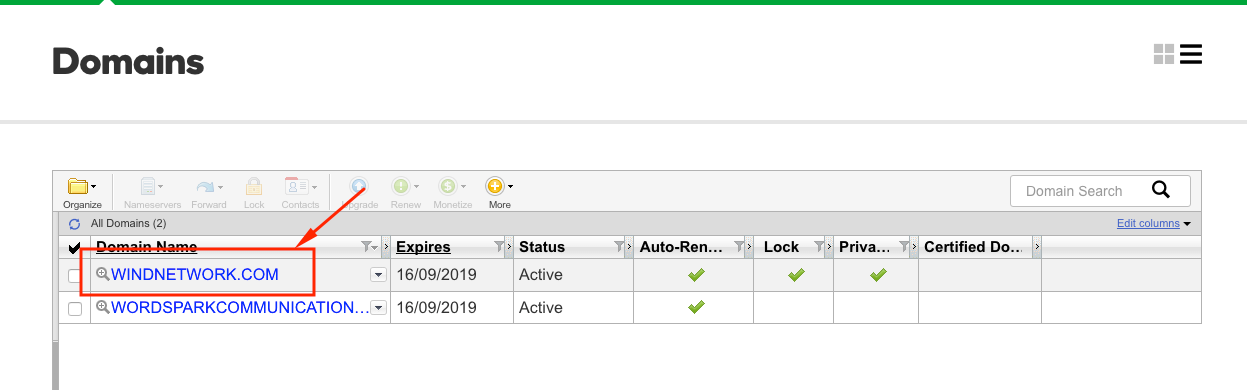
Then on the list, click on the domain you want to use Cloudflare with:
In the ‘Nameservers’ section, click on ‘Manage’
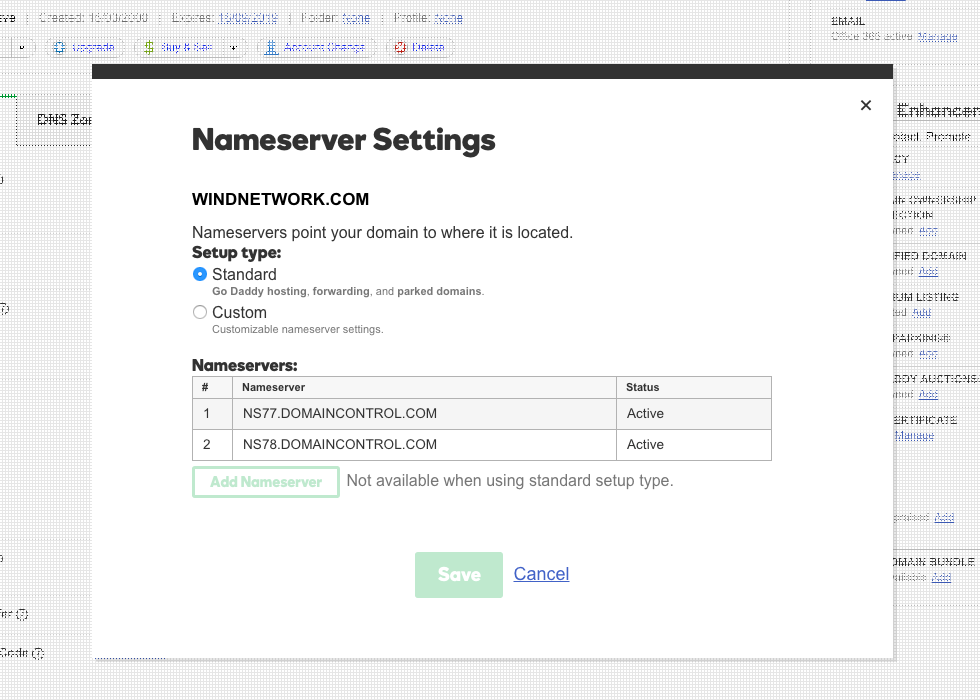
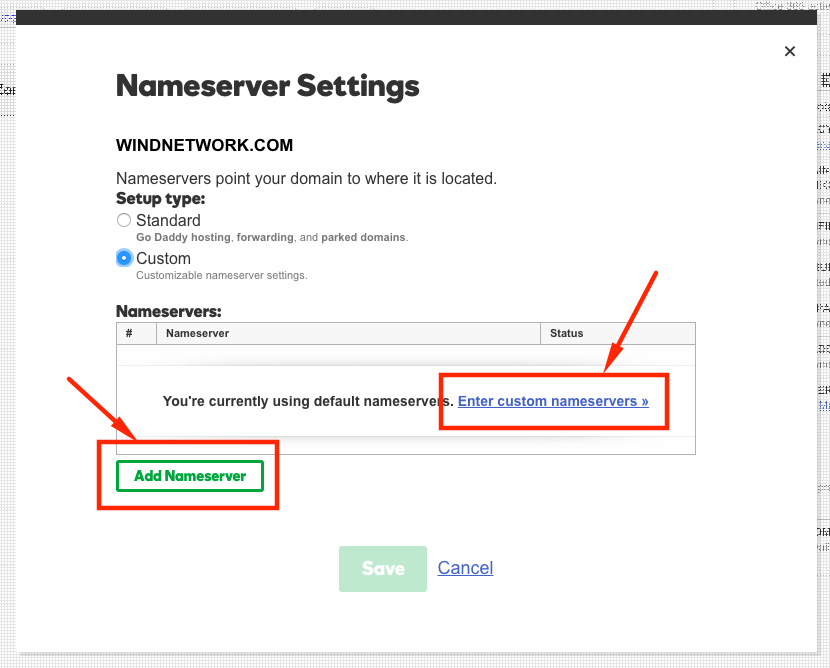
A popup will appear with the Namserver settings. Select the ‘Custom’
Click on ‘edit custom nameserver’ or ‘Add Name Server’
In the fields provided, add the cloudflare server details then click OK
You’re done.
It will sometimes take 24-48 hours for the changes to propagate through the internet before your website is available. Usually it’s much faster, sometimes within minutes.
#4 Get SSL for HTTPS
If you have CPanel on your host, then you’re in luck. WHM/Cpanel provide free SSL certificates through their AutoSSL feature. This even auto-renews the certificate when it expires so it’s free and hassle-free forever.
If you have WHM access, you can enable it Check with your host to make sure it’s
Select the ‘CPanel (powered by Comodo)’ option, then press ‘Save’

Then press the ‘Run AutoSSL For All Users’ button, and the SSL will be set up for all the accounts on the WHM.Next, login to your WordPress site and install and activate the Really Simple SSL plugin
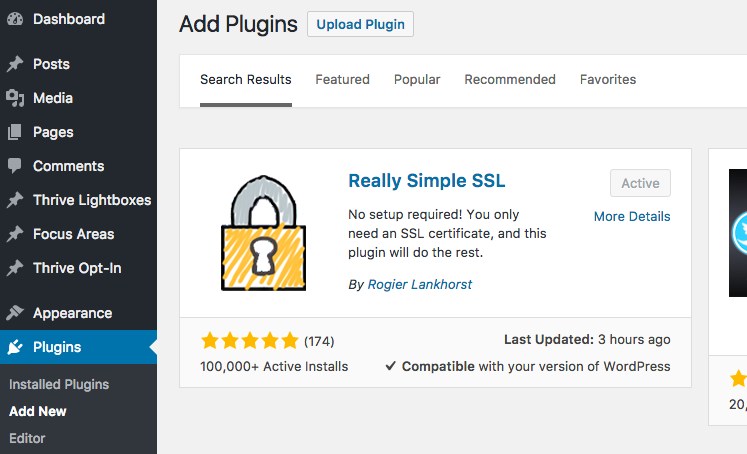
If you want to pay for the premium version of Really Simple SSL, then it will also activate HSTS (HTTP Strict Transport Security), which basically just forces all traffic to use HTTPS and prevents Man-in-the-middle attacks.The free alternative is to install and activate the LH HSTS plugin.
Just go to your WordPress dashboard > Plugins > Add new, then search for “LH HSTS”
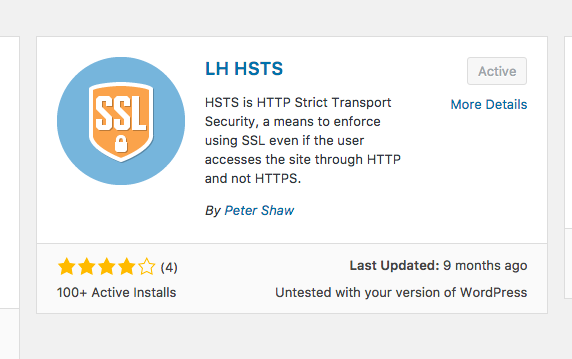
Add and activate the plugin and you’re sorted.
Go HTTPS through Cloudflare.
For those who don’t have CPanel through their host, then I’ve got another equally free (even more so) solution for you.
Since you’ve already got your website through Cloudflare (if not, just follow the instructions above), then thankfully the kind folks at Cloudflare also provide free SSL certificates too!Log in to your Cloudflare account
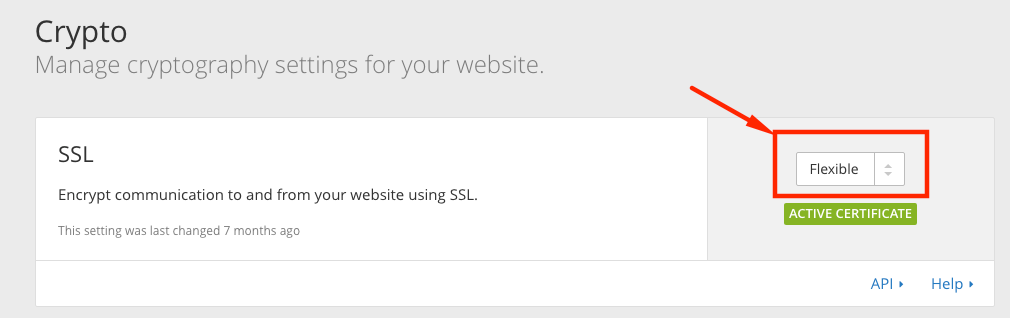
Click on the Crypto option at the top of the page

The SSL option is the first one, just change the certificate type to ‘Flexible’ and Cloudflare will issue your certificate. This might take 15mins, or up to 24hrs.
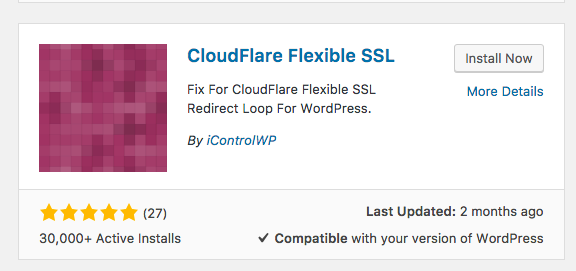
Once the certificate is active (you can tell by the green ‘Active Certificate’ banner beneath the certificate), go to your WP-Admin and install the Cloudflare Flexible SSL plugin
Now you just need to tell Cloudflare to force all traffic to use HTTPS.
Choose ‘Page Rules’ option at the top of the Cloudflare page for your domain
Enter your domain with asterix’s either side as shown (e.g. *mydomain.com*)
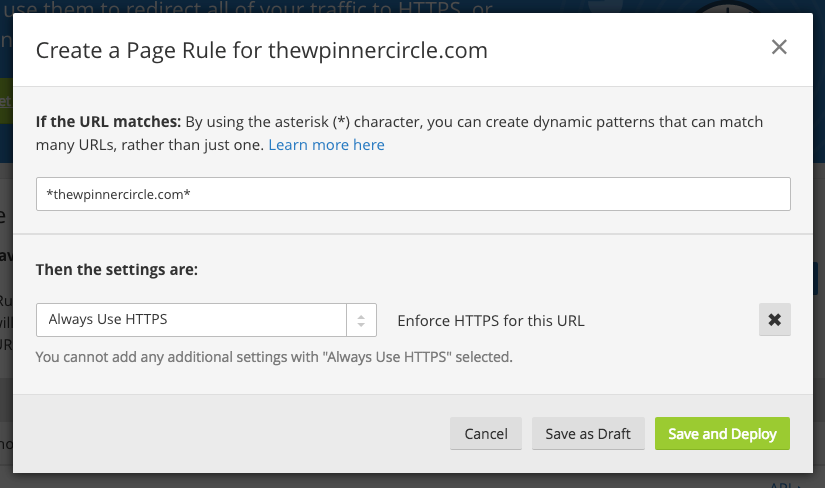
Click ‘+Add a Setting’
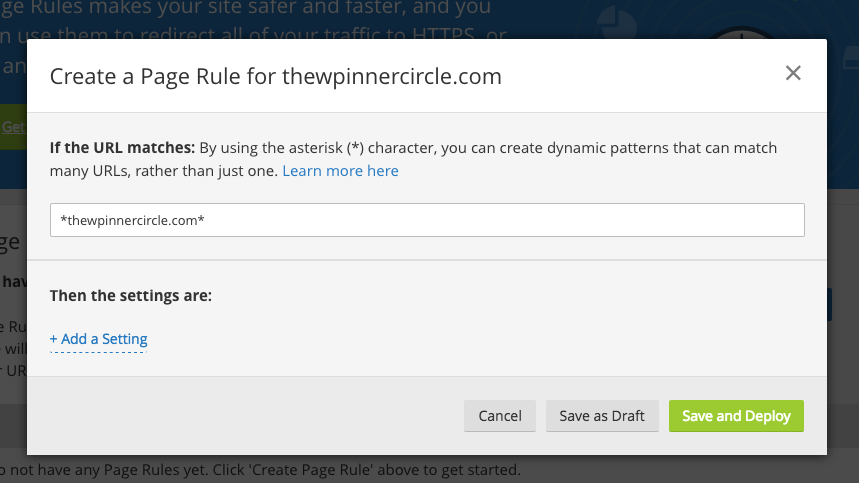
Choose ‘Always Use HTTPS’ then click Save and Deploy
Lastly, you just need to change your WordPress site settings
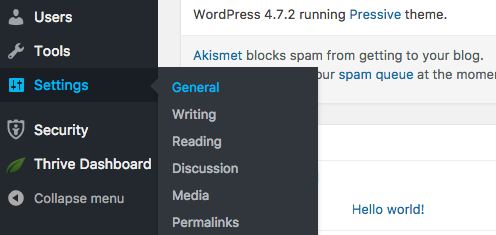
Click on Settings > General
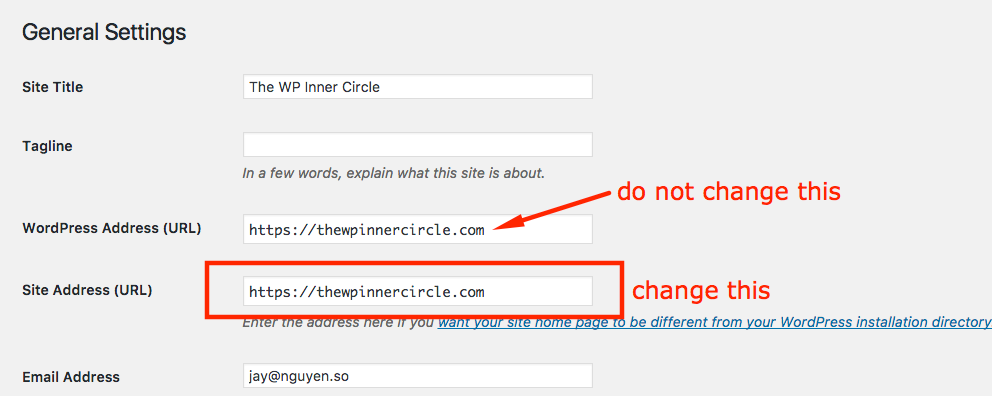
In the ‘Site Address (URL)’ field, make sure the address shows HTTPS instead of HTTP
IMPORTANT: Don’t change the ‘Wordpress Address (URL)’ field because they will break your site.
Save Changes
Your website should now be on HTTPS – you’ll know it’s working properly if you can see the padlock and ‘Secure’ text when viewing your page
![]()
#5 Change your public username
One of the concerning things about WordPress is that it’s extremely easy for hackers to discover your real username. Do this test.
Type “http://www.mydomain.com/?author=1” into your browser, replacing mydomain with your domain.
WordPress will automatically redirect the page to the author URL, eg.
http://www.mydomain.com/author/admin
Yes it’s possible to change your ID from 1 to some other number, but hackers will be able to eventually get this by incrementing.
By hiding your real username however, you make things a lot harder.
Login to your WP dashboard and go to Users > Your Profile
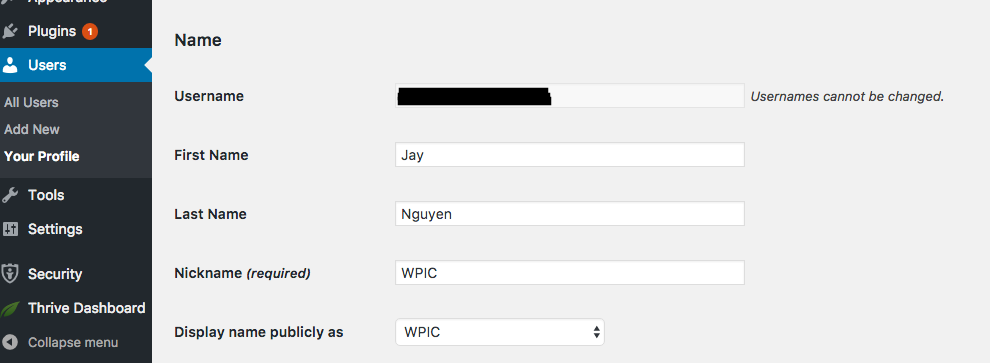
Make sure you have entered details for your First Name, Last Name and Nickname.
In the ‘Display publicly as’ drop down, choose any of the options except your real username.
The last step is then to change the user_nicename within your WordPress database. I’ll be using phpMyAdmin to do this from the Cpanel
Login to your CPanel and open up phpMyAdmin
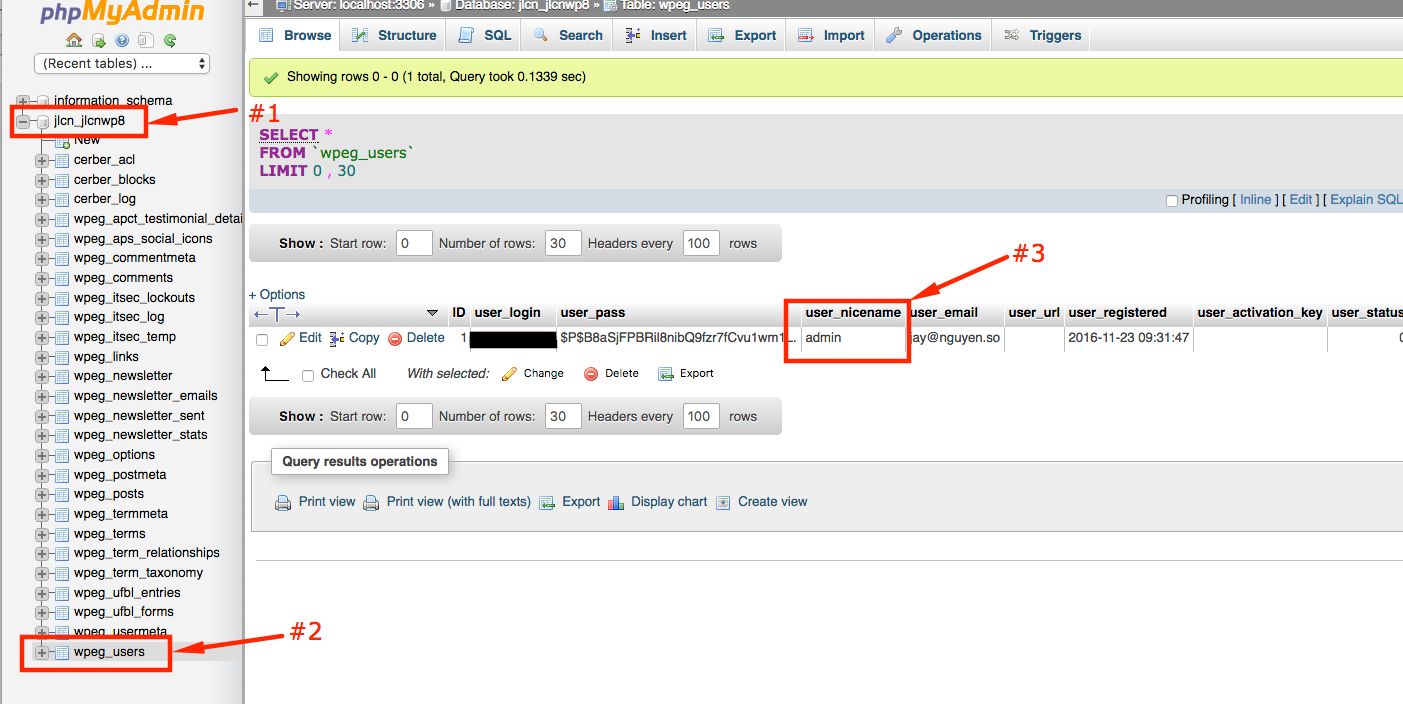
- Select the database from the left column – it is typically the one under the ‘information_schema’
- Select the database table with the _users in the name – it’s typically the last table
- Double click in the user_nicename field and edit the entry to whatever you want – make sure it’s different from the user_login name (which is your username)
#6 Install a Security Plugin
With over 75 million users globally, WordPress websites are an extremely attractive target for hackers and spammers.
Nothing is 100% secure, but to reduce the risk of your website being hijacked it’s highly recommended that you install a security plugin to secure it from known WordPress vulnerabilities.
There are dozens or security plugins out there. The most popular ones with a free version include:
- iThemes Security
- Wordfence
- Bulletproof Security
- Sucuri Security
Personally, I use iThemes as it’s the easiest to set up “out of the box”.
- After install, you’ll be asked to do a Security check. Just press the ‘Secure Site’ button which will set you up with the recommended settings.
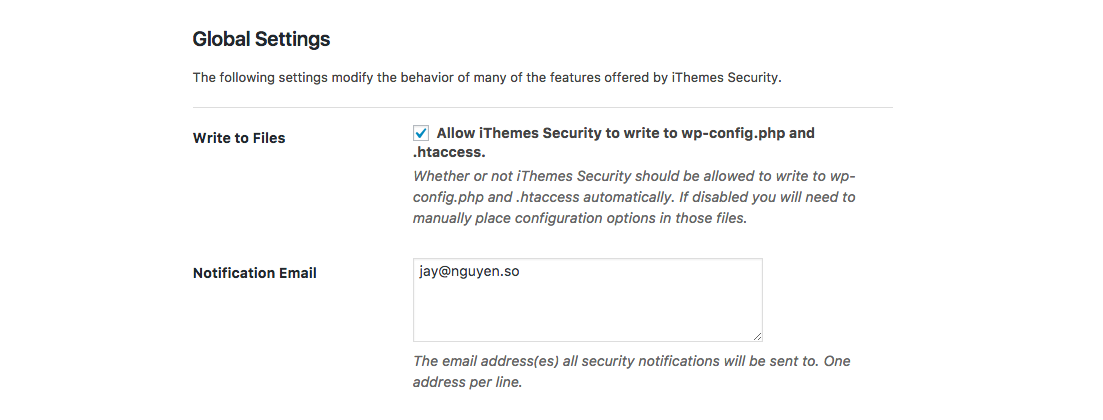
- Go to Global Settings and enter the email address that you want to receive notifications on

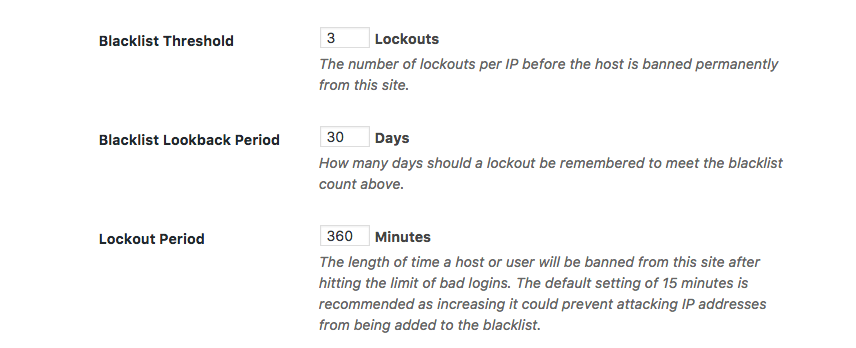
- Scroll down the Global settings list and set the Blacklist Lookback Period to 30 days, and the Lockout Period to 360 Minutes.

Feel free to play with the other settings, at your own leisure. Just make sure you’ve made a backup of your site though in case. See next section.
#7 Set up analytics
If you don’t already have one, go over to analytics.google.com and sign up for an account
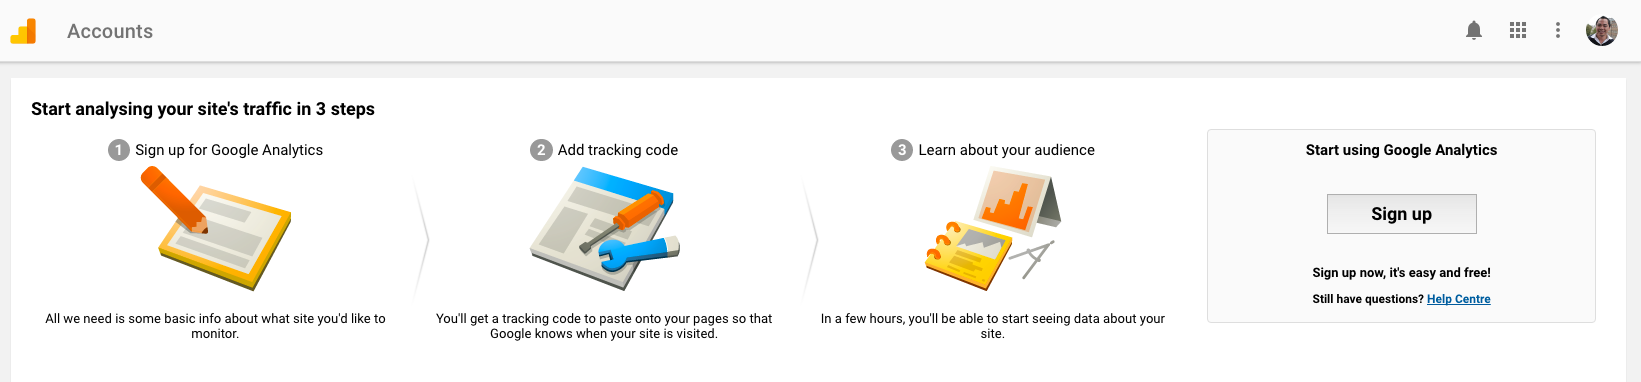
Enter the basic relevant details about your business and website, then click the ‘Get Tracking ID’ at the bottom
Accept Google’s terms and conditions
You’ll see a page like this:
![]()
That’s it. Take note of your Tracking ID.
![]()
Normally, the website tracking code which is on this page is meant to be pasted onto every page that you want to track. But I want to keep things as simple as possible, so we’re just going to install a plugin to do that for us.
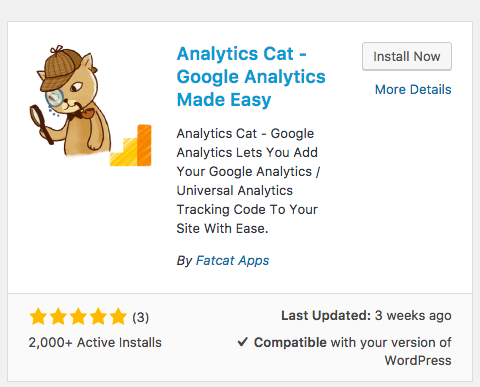
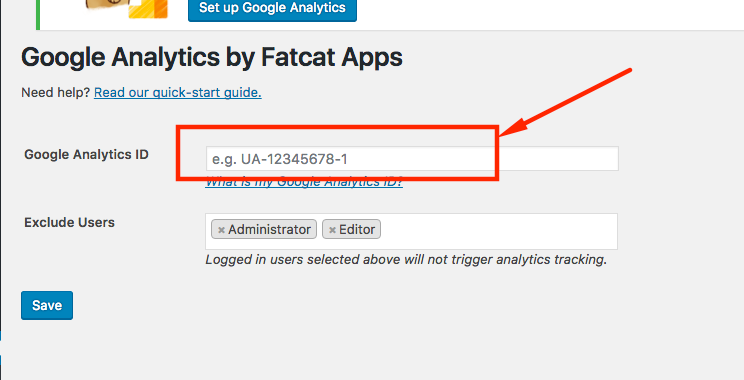
Go back to your WP dashboard to install and activate the Analytics Cat – Google Analytics Made Easy plugin by Fatcat Apps.
If you can’t find this plugin, use any other plugin and enter the google analytics code where required for that particular plugin.
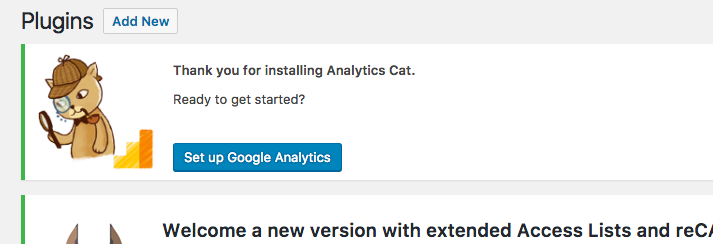
Once Activated – click the Setup Google Analytics button to continue
Click on Skip this step
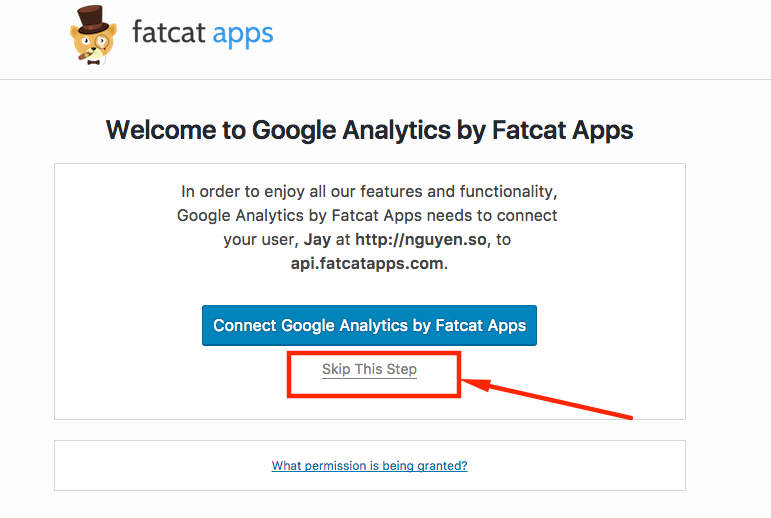
You can always connect later if you want the other features.
Now just paste your Tracking ID that you copied earlier here then press Save
Did you find these instructions useful? I’d love to get your feedback and see how I can help you further. Just hit reply and let me know.
If you’re far to busy and don’t have the time to do all of these things, or just don’t feel confident enough to try it – then the WP Inner Circle can do it all for you, plus more. We can get you set up with everything and maintain your website to make sure you’re not distracted by the website and focused on the most important things – running your business.